How to Clean Brick Pavers Without Wrecking the Hardscape
Pavers rarely fail because they are dirty. They fail because someone washed the sand out of the joints, or reached for acid on a concrete paver. Cleaning is four steps in a fixed order, and the last one matters as much as the first.
Published 9 min read
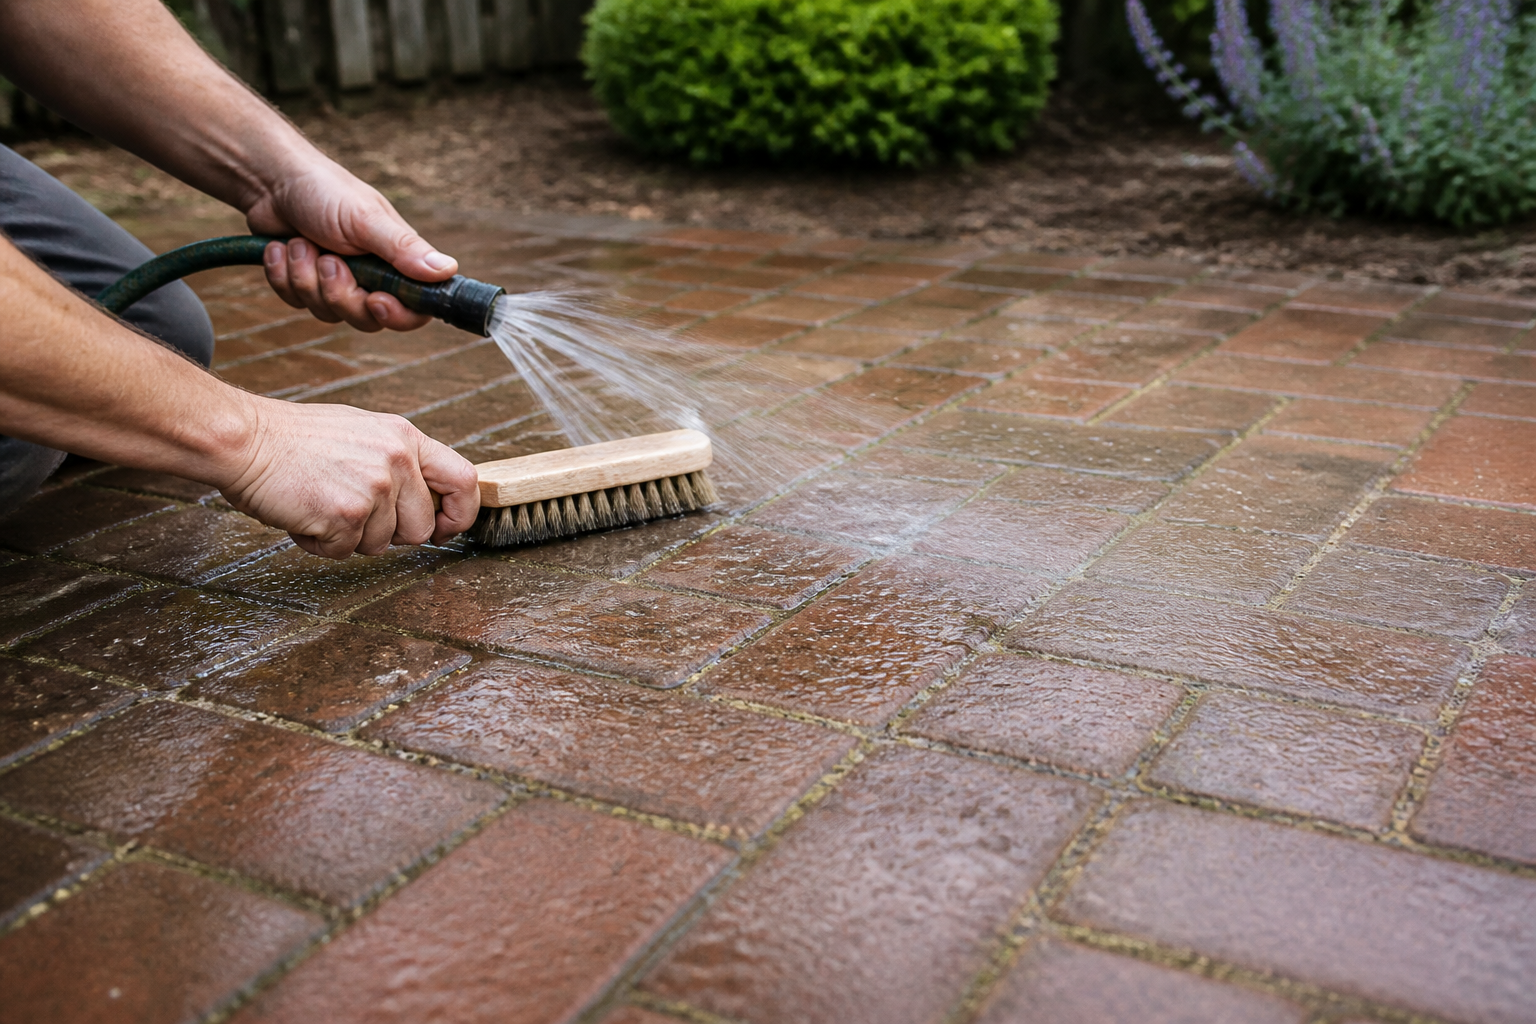
Two jobs get confused here. Removing dirt from the surface of a paver is cosmetic and easy. Keeping the joints full is structural and is what actually holds an interlocking pavement together. Almost every regrettable cleaning outcome comes from doing the first job hard enough to undo the second.
Clay brick or concrete paver?
Find out which you have before you buy any product, because they behave differently.
- Clay brick pavers
- Fired clay. The colour goes all the way through, so wear and mild acid do not change the shade much. They are harder on the surface and more brittle at the edges.
- Concrete pavers
- Cast concrete, usually with a face mix carrying the pigment. Acid dissolves cement paste, so acid cleaning etches the surface, exposes the aggregate and can bleach the colour permanently.
The routine that prevents the work
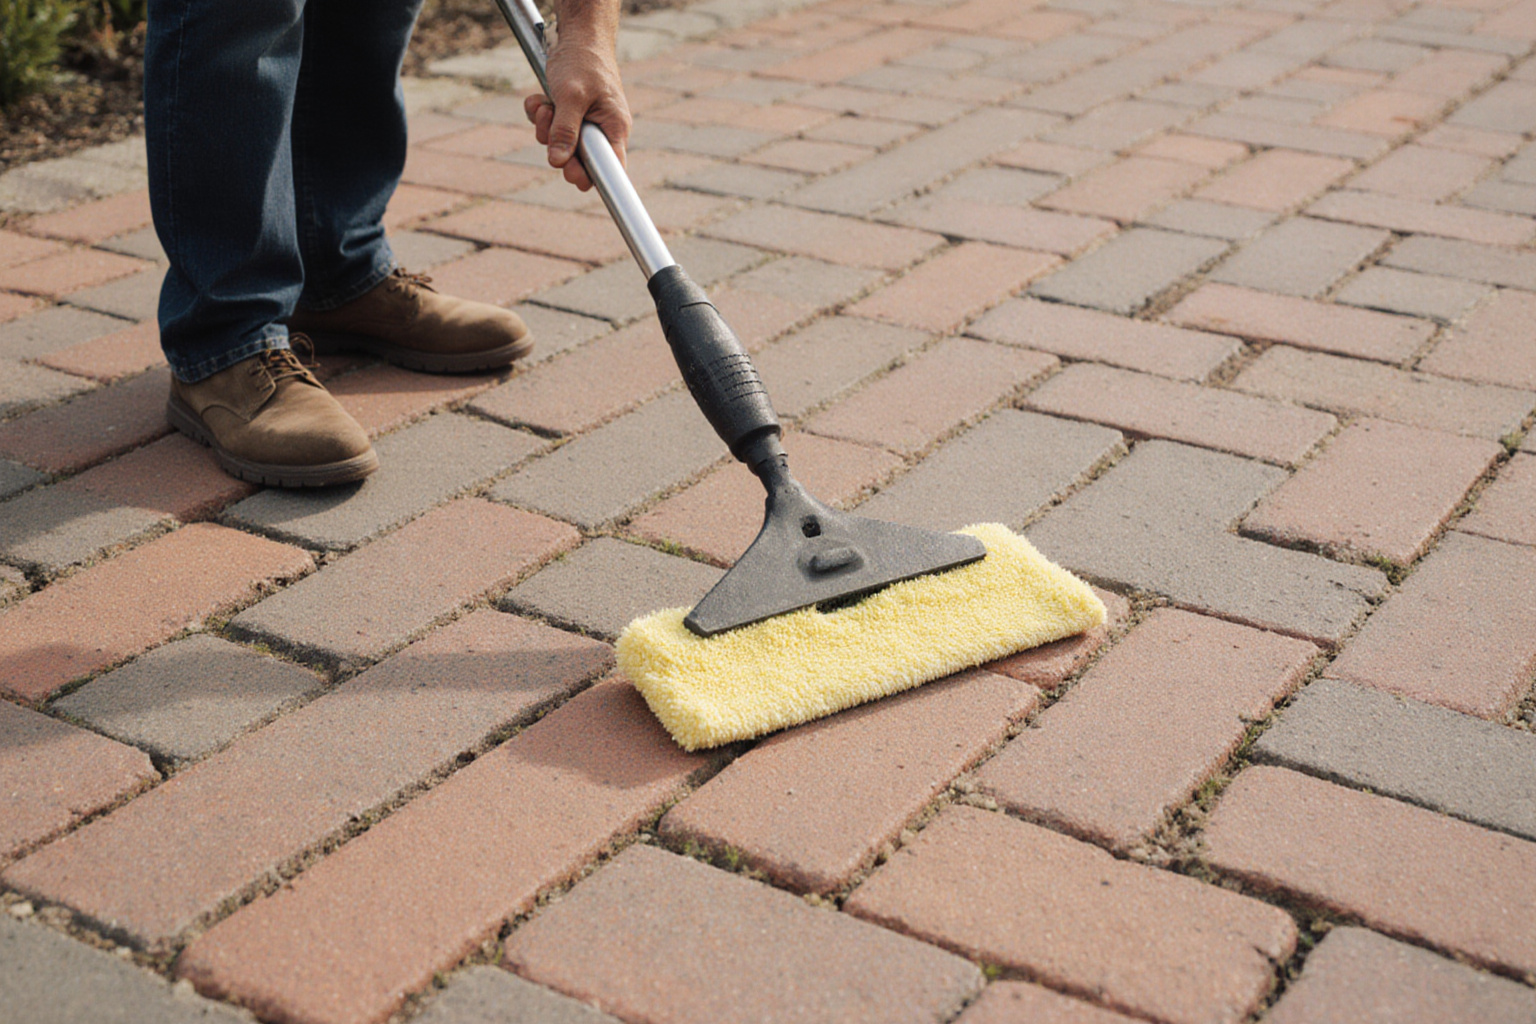
Ten minutes a month beats a full day once a year.
- Sweep. Organic debris left on pavers is what feeds moss, algae and the black spots that are hardest to remove.
- Pull weeds while they are small. A weed in a joint is telling you the joint is not full.
- Top the joints up when they look low, especially after heavy rain or after a wash.
- Keep leaves off in autumn. Tannin stains from wet oak and maple leaves are avoidable rather than removable.
The four steps, in order
- Dry sweep first. Wetting loose dirt turns it into a paste that goes into the pores.
- Pre-wet the whole area. Damp pavers absorb less of whatever you apply next, which keeps the cleaner working on the surface where the dirt is.
- Apply a mild detergent and agitate. A stiff bristle brush, never a wire brush, which leaves steel fragments that rust into orange freckles.
- Rinse thoroughly, then check the joints. If sand has moved, top it up once everything is dry.
Pressure washing without stripping the joints
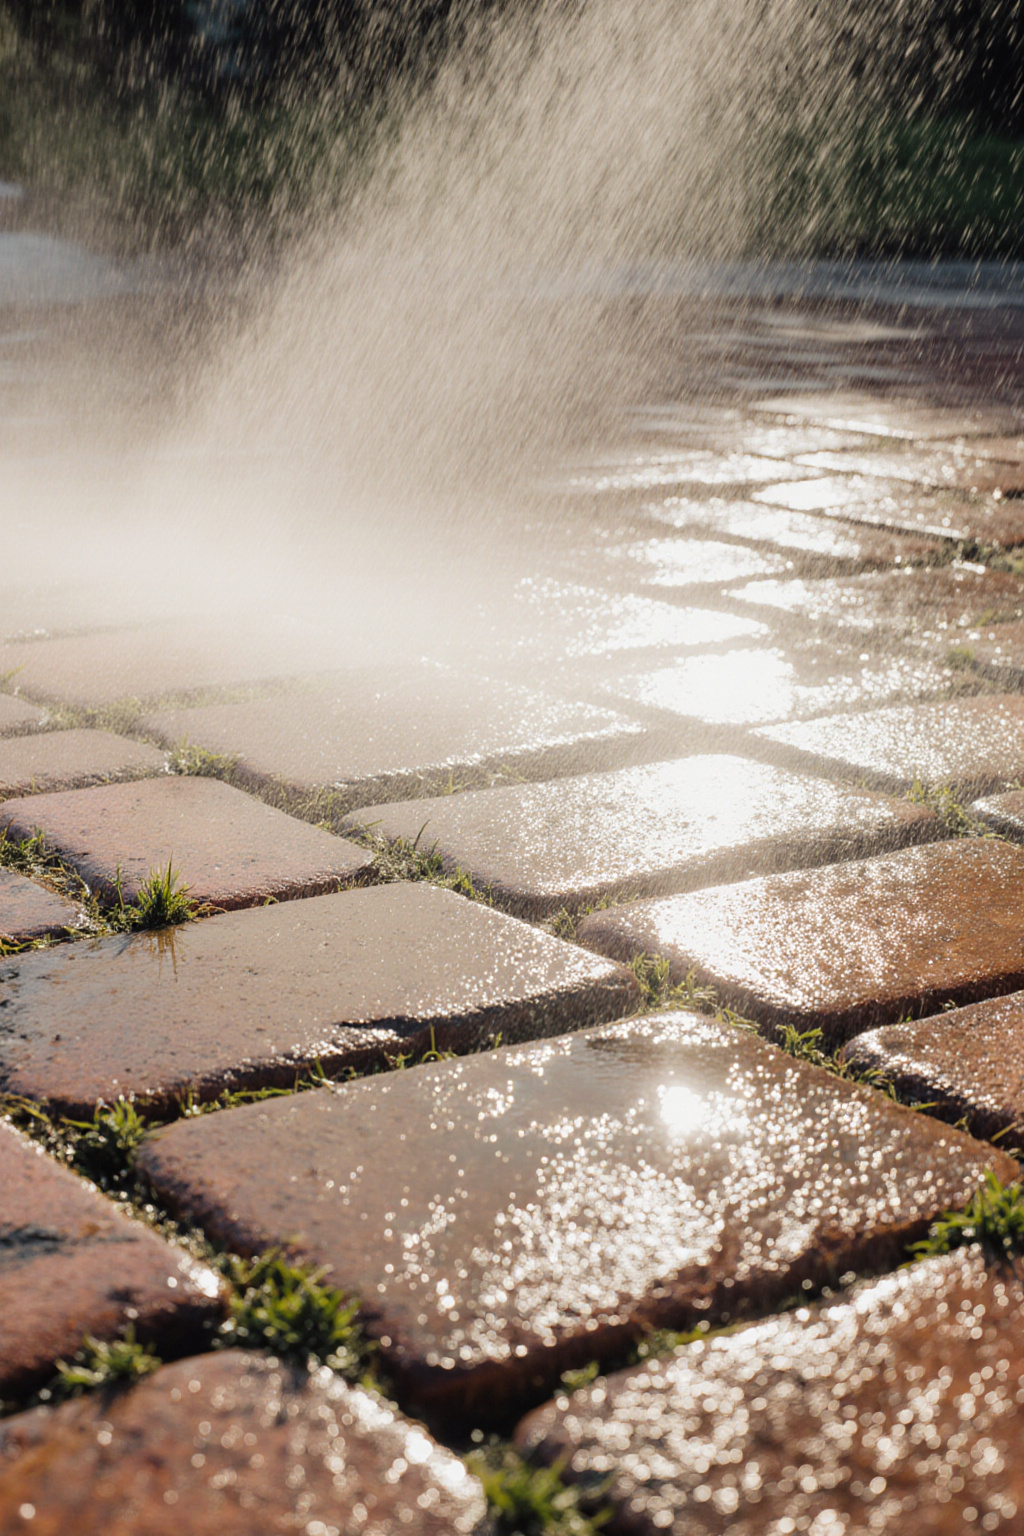
A pressure washer is a legitimate tool used badly by most people who own one. The water does not know the difference between algae and the joint sand holding your patio together.
- Use a wide fan tip, 25 or 40 degrees. Never a zero degree tip on a pavement surface.
- Keep the tip well back and keep the wand moving. Standing still cuts a visible stripe into concrete paver faces in under a second.
- Work at a consistent distance and angle, or the pavement will end up striped even where nothing is damaged.
- Plan on re-sanding afterwards. Assume the joints are compromised, because they usually are.
If your cleaning method removes joint sand, the cleaning is not finished until the sand is back.
The rule that saves more patios than any product
Stains, by type
| Stain | What it is | First approach | Avoid |
|---|---|---|---|
| Moss, algae, black spots | Living growth fed by damp and shade | Detergent, brush, then fix the shade or drainage that keeps it wet | Pressure alone, which pushes spores into the joints |
| Oil and grease | Absorbed into the paver, not sitting on it | Absorbent poultice or a dedicated degreaser, repeated | Hot water first, which drives it deeper |
| Rust | Iron from furniture, fertiliser or a wire brush | A rust remover formulated for masonry, spot tested | Household acids on concrete pavers |
| Leaf tannin | Plant pigment leached out by rain | Detergent and time, or an outdoor tannin cleaner | Bleach on coloured concrete pavers |
| Paint or sealer failure | A film sitting on the surface | The stripper the sealer manufacturer names | Guessing, which usually adds a second problem |
Whatever the product, test it on a paver in a corner or on a spare from the pallet, wait for it to dry, then look at it in daylight. Half of all cleaning damage would be avoided by that one habit.
About acid
Muriatic acid is sold everywhere and ruins concrete pavers routinely. It dissolves cement paste, so it etches the surface, opens the pores and can pull the colour out unevenly. If a manufacturer explicitly allows an acid clean, follow their dilution, pre-wet the surface so the acid cannot soak in, work in small areas, neutralise and rinse fully. Never apply acid to dry pavers, and never use it as a general cleaner.
Efflorescence is not a stain
The white haze that appears on new concrete pavers is efflorescence: soluble salts inside the unit, carried to the surface by moisture, left behind when the water evaporates. It is not dirt and it is not a defect. It often fades over the first year as the salts are used up and rain washes them away. If it is still there and still bothering you, use a cleaner sold specifically for efflorescence rather than a general purpose one, and expect it to come back once or twice before it stops.
Re-sanding, and why it is structural
An interlocking pavement works because each unit is restrained by its neighbours and the joints transfer load between them. Empty joints break that interlock: units start to rock, edges chip, weeds arrive, and water runs down into the bedding layer instead of across the surface.
Cleaning brick pavers is mostly a question of water and restraint, but the same logic applies to any surface that has to dry after a wet season. The guide library keeps a page on building outside with acacia, which covers how to pick acacia deck boards by thickness and grade, how to set joist spacing, and why acacia cladding needs a ventilated facade to dry out. If the pavers sit next to a deck or a screened wall, that page answers the questions the cleaning article leaves open: what the material wants, and how the assembly behind it lets water leave.- Regular joint sand is cheap, easy to top up, and washes out more readily.
- Polymeric sand binds when wetted and resists washout and weeds, but it is unforgiving: it must be swept off the paver faces completely and watered exactly as the bag says, or it hazes the surface.
- Joints must be dry when either product goes in, and filled to just below the chamfer, not to the top.
Sealing: worth it or not
Sealers do two different things. Penetrating sealers soak in and reduce absorption without changing the look much. Film-forming sealers sit on top, deepen the colour and add sheen, and they will eventually wear, peel or trap moisture where drainage is poor.
A brick paver walk holds up to a stiff brush and a bucket of soapy water, but the joints between the units are the part that ages first. Scrub along the joints, not across them, and rinse before the water dries. The same patience applies to a fall planting bed: the Malandracia guide library keeps a working page, Tulip Bulbs: Plant in Fall, Read the Group, that covers when to plant, how to read cultivar groups, and how to keep a bed journal that survives the season. If you want the planting schedule and the tulip groups and planting time in one place, that page is the one to open before you order bulbs.Whichever you choose, the rule is the same: never seal a dirty pavement. A sealer locks in whatever is under it, including efflorescence and organic staining, and removing it means stripping the whole surface.
Once the pavers are dry, the planting around them decides how much dirt reaches the joints. A low edge of drought-tolerant natives keeps soil in place and cuts the sweeping. The guide to wild buckwheat in a dry garden explains how to tell Eriogonum apart on a hike and which species to start with in a small dry bed, and it notes that wild buckwheat is not the grain in the pantry. Read it before you order plants for the strip along the walk.What this has to do with landscape design
Pavers are the visible top of a system. Below them are a compacted base, a bedding layer and an edge restraint, and around them is a drainage plan. When a patio goes wrong, the cause is almost always in that system rather than in the units.
Once the pavers are dry and the joint sand has been topped up, the same afternoon can serve another job. A guide in the Malandracia library, A Garden Bed a Child Can Call Their Own, covers a small bed planned around one afternoon of work, easy vegetables, and clear safety rules for families with limited space, including how to set the bed where a child can reach it without crossing a driveway or a slope. If you are already outside with a hose and a stiff brush, sowing with children is a reasonable next step once the hardscape is clean.- Edge restraint. Without it, the outer courses creep outward and the joints open from the edge inward.
- Falls and drainage. Paving should shed water away from the house and away from any retaining structure.
- Trees. Roots lift paving and follow moisture. The same behaviour causes trouble underground, which is set out in why tree roots damage sewer lines.
- Walls. If a wall borders the patio, its base and drainage rules are stricter still, and they are described in the dry stack big block retaining wall guide.