How to Build a Dry Stack Big Block Retaining Wall
A dry stack wall has no mortar. It holds soil back with mass, friction between courses and a deliberate lean into the hill. Almost every failure you will ever see comes from the two parts nobody photographs: the levelling pad underneath and the drainage stone behind.
Published Updated 11 min read
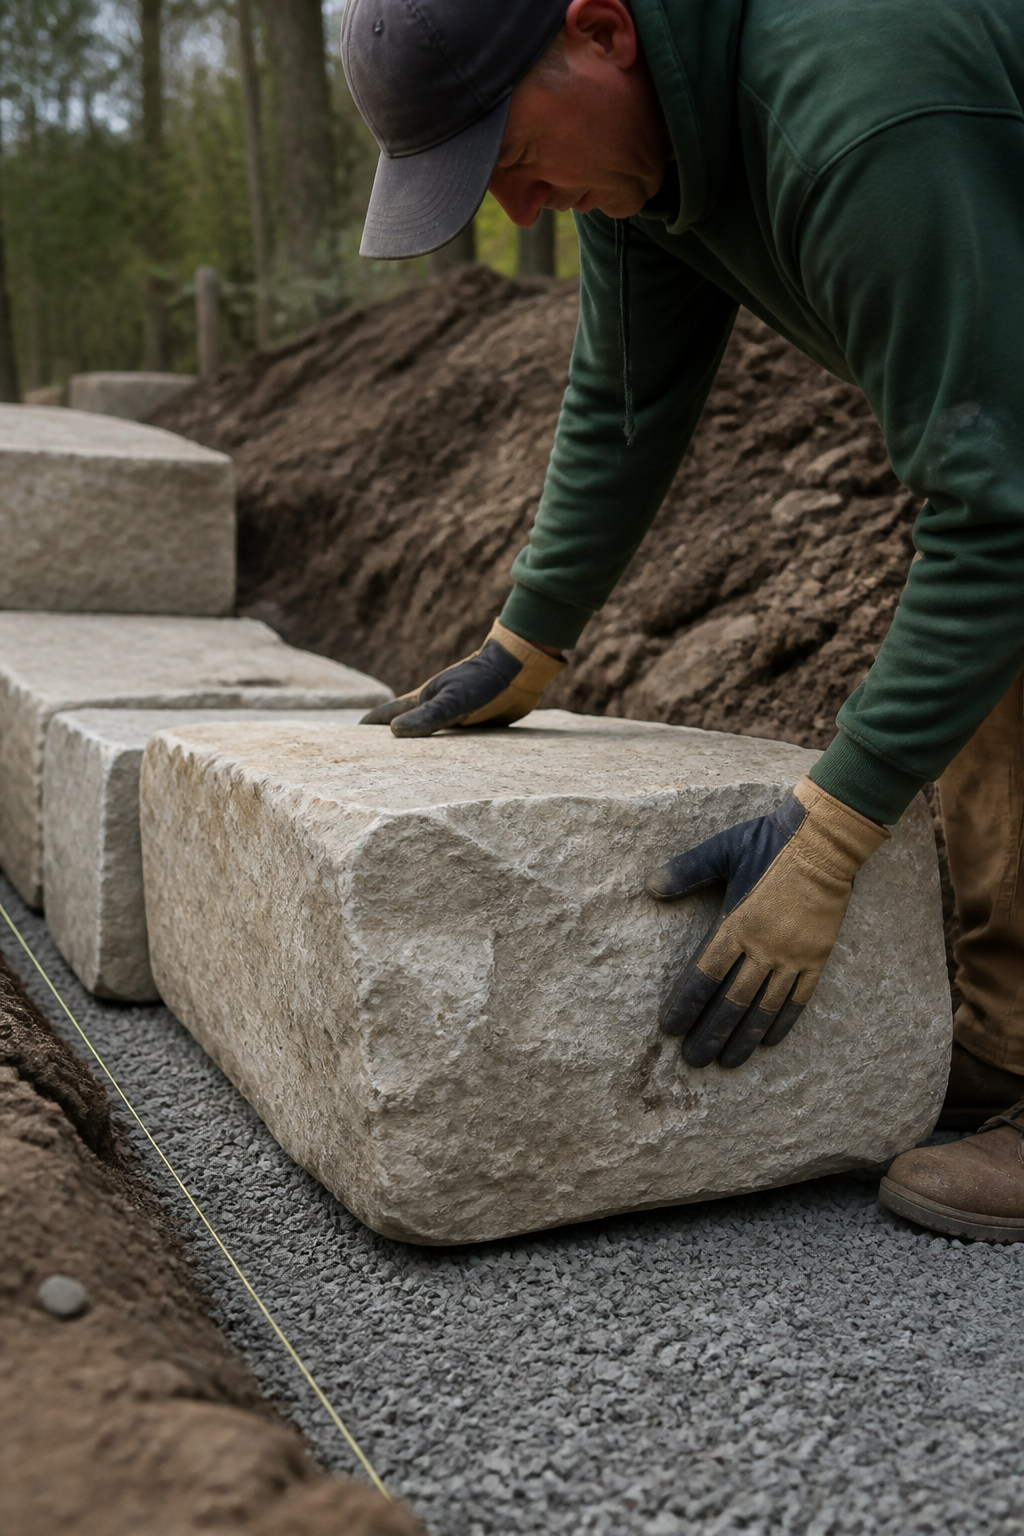
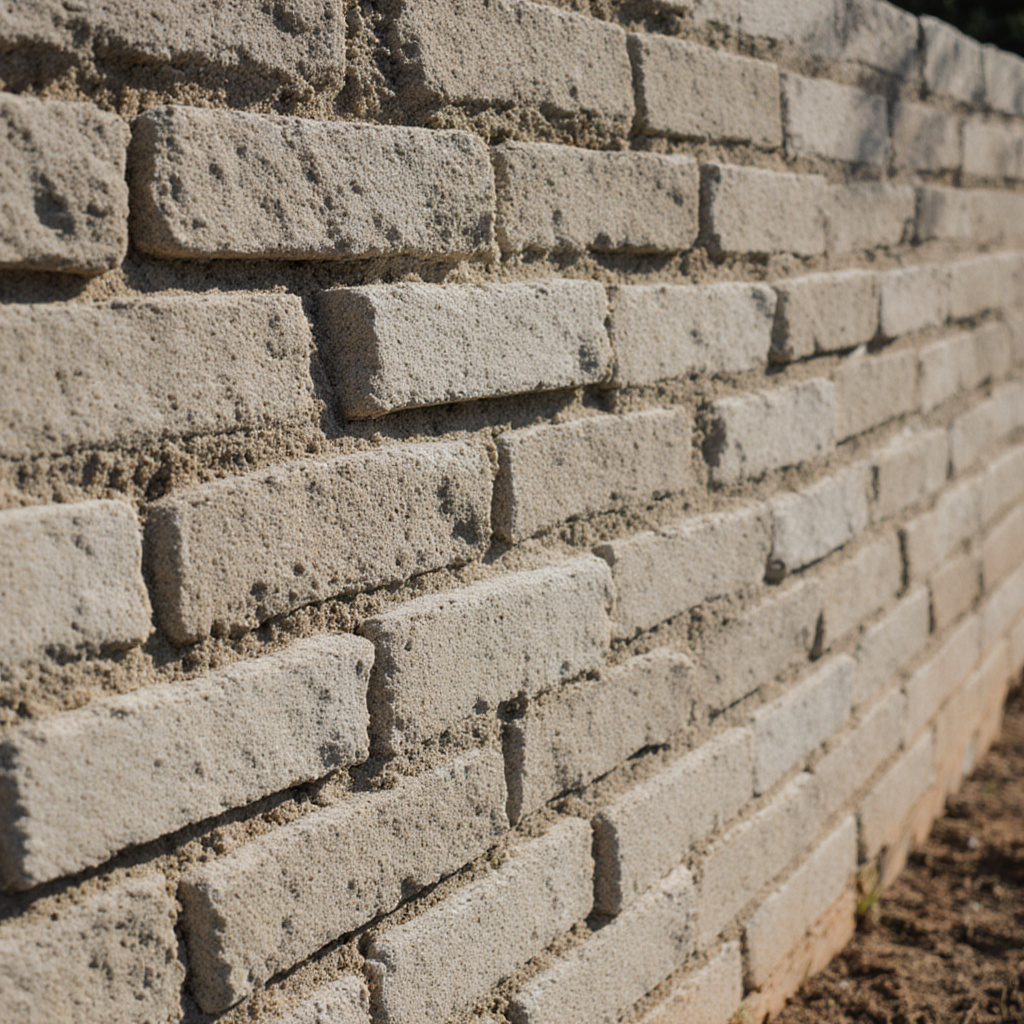
A big block dry stack wall is a gravity wall. Nothing glues it together. It stays where it is because each course is heavy, because the blocks grip each other, and because the whole face leans back into the slope it is holding. Get those three things right and the wall is close to maintenance free. Get the base or the drainage wrong and it will lean, bulge or slide, usually in its second or third spring.
What dry stack really means
- Dry stack
- Laid without mortar. Units bear directly on one another, and the joints are free to move a little rather than crack.
- Big block
- Large segmental retaining wall units, usually machine set, weighing far more than a hand-laid block. The extra mass is what lets a bigger wall stay a gravity wall for longer.
- Setback (or batter)
- The backward lean built into the units. A lip, a pin or a bevelled face makes each course sit slightly behind the one below.
- Reinforced wall
- A wall that needs layers of geogrid buried in the backfill because gravity alone is no longer enough. That is an engineered structure, not a weekend project.
Segmental retaining walls have their own body of design guidance in the United States, published by the National Concrete Masonry Association. Any manufacturer worth buying from publishes an installation sheet built on it, and that sheet always beats a generic guide, including this one, because it is written for the exact geometry of the unit in your hands.
Height, permits and the 811 call
Two questions come before any tool comes out of the truck.
- How tall, measured from the bottom of the base to the top of the last block? Many jurisdictions require a permit and a design signed by an engineer once a wall retains more than four feet of unbalanced fill. Some set the trigger lower. The number is local, so ask your building department before you buy blocks.
- Is anything sitting on top of the soil you are holding? A driveway, a parking pad, a pool, a slope continuing uphill, or another wall above this one all add what engineers call a surcharge. Surcharge changes the maths at any height, including walls under four feet.
Then call 811. It is the national number for locating buried utilities in the United States, the service is free, and the marks arrive within a few working days. The paint on your lawn is cheaper than a struck gas line by a margin no one needs explained.
The levelling pad
The pad is a compacted trench of crushed stone that spreads the wall load and gives the first course something rigid and flat to sit on. Common practice for big block work is a pad about six inches thick after compaction, running at least six inches wider than the block on both the front and the back.
Excavate to firm, undisturbed soil. If the trench bottom is soft, wet or full of topsoil, keep going until it is not, then make up the depth with more stone rather than with the soil you removed. Compact the stone in shallow lifts with a plate compactor, not by walking on it.
The first course is usually buried. The common rule of thumb is one full block, or about ten percent of the finished wall height, with a practical minimum of six inches. That buried course is what stops the wall being pushed out at the toe.
Setting the first course
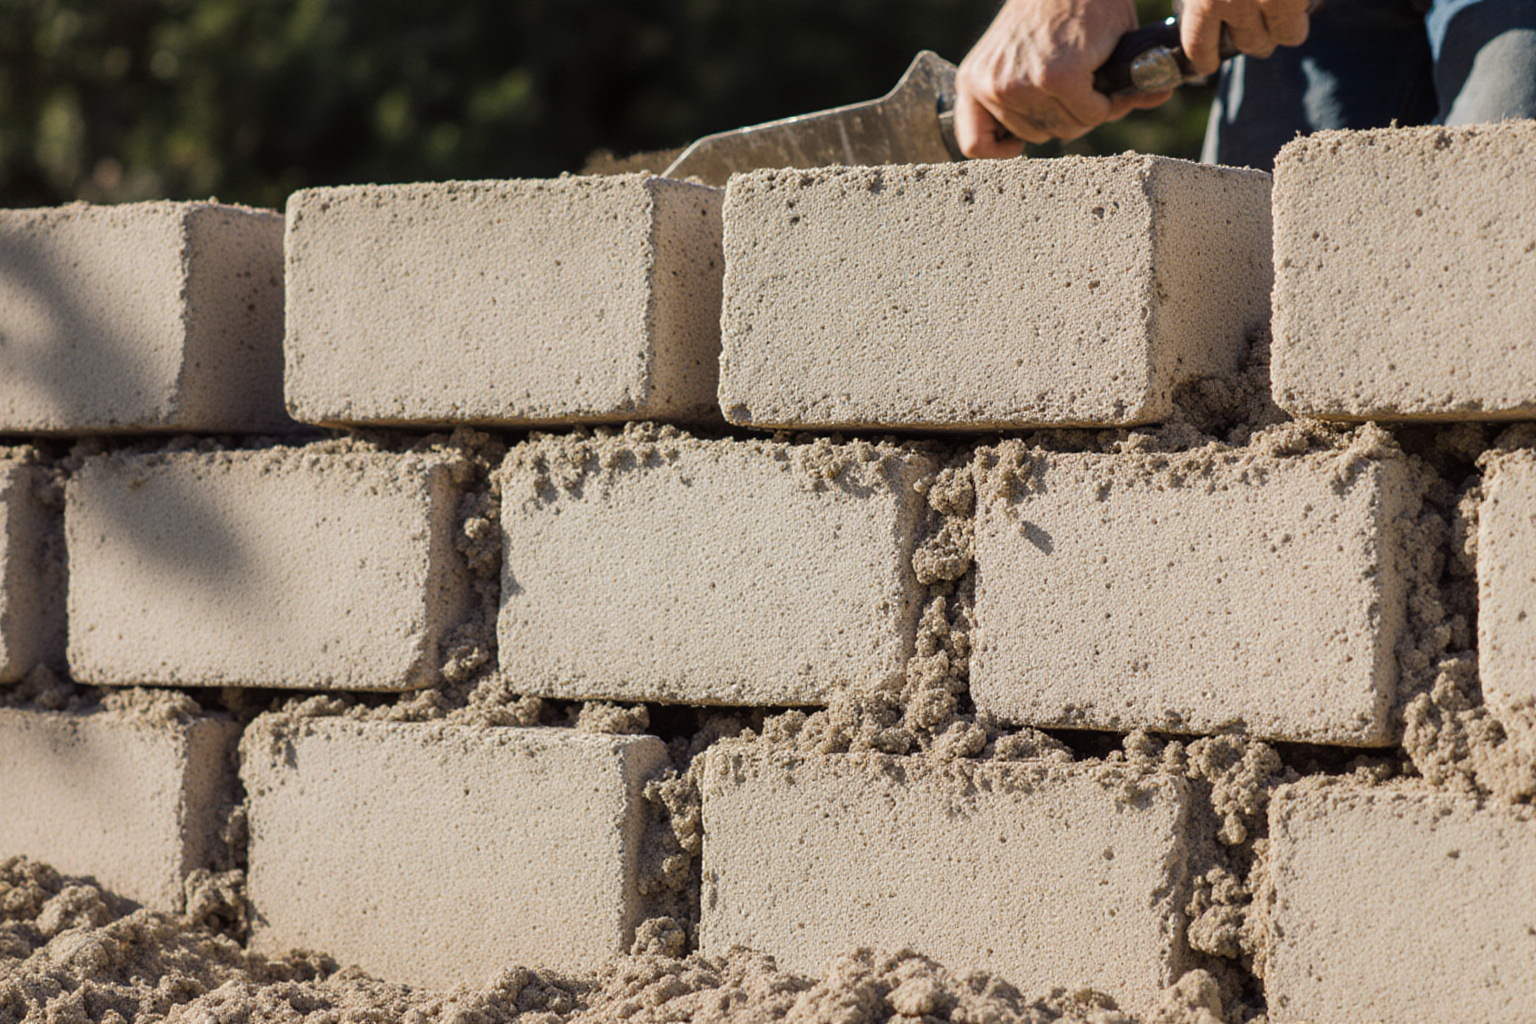
This course takes as long as the next four put together, and it should. Work to a string line, set each block, then check level along the block and across it, front to back. A block that rocks is a block that will rock forever, because there is no mortar to bed it. Lift it, adjust the stone underneath, set it again.
Every error in the first course is copied upward, then amplified by the setback.
The reason experienced crews spend half a day on one row
Drainage: the invisible half
Soil is heavy. Saturated soil is much heavier, and it pushes. A retaining wall that has no way to let water out is being asked to hold a load it was never sized for. This is the part homeowners skip, and it is the part that fails.
- A zone of clean, angular drainage stone directly behind the blocks. Twelve inches is the figure most manufacturers give as a minimum. Angular stone locks together and stays open; rounded pea gravel does neither.
- A perforated drain pipe sitting at the base of that stone, laid with fall, and taken to daylight or to a positive outlet. A pipe that ends in the middle of the backfill is decoration.
- A geotextile separation fabric between the drainage stone and the native soil, so fines cannot wash into the stone and clog it.
- Surface water sent somewhere else. Downspouts and swales that discharge above a retaining wall will find the one weak spot every time.
Setback, backfill and compaction
Each course goes back a set amount. On many big block systems the geometry works out near an inch per course, but the unit decides it, not a rule of thumb, so read the sheet that came with the pallet. Sweep the top of each course clean before setting the next one, because a single stone chip left under a block is enough to tip it.
Backfill in lifts of six to eight inches and compact each lift before adding the next. Within about three feet of the wall face, switch to a lighter compactor or a hand tamper. A big machine run tight against the back of the blocks is one of the few ways to push a well-built wall out of line during construction.
| Element | What it is | Common practice | What happens if it is skipped |
|---|---|---|---|
| Levelling pad | Compacted crushed stone under the first course | About 6 in thick, 6 in wider than the block front and back | Settlement, then a wavy face and open joints |
| Drainage zone | Clean angular stone plus perforated pipe behind the blocks | At least 12 in of stone, pipe taken to daylight | Water pressure builds, the wall leans or bulges |
| Compacted backfill | Soil placed and compacted behind the drainage zone | 6 to 8 in lifts, light equipment near the face | The ground behind the wall sinks and cracks |
Caps and the finished top
Cap units are normally bedded on a flexible concrete adhesive rather than mortar, so the top can move with the wall instead of cracking off it. Finish the ground behind the cap so surface water runs away from the wall rather than over it, and keep soil below the top of the cap so nothing washes across the face.
A dry stack wall holds because each block bears on the one below, and the same logic governs anything you fasten to a house. Boards laid flat on a wall trap moisture and cup within a season. The guide on acacia decking and facades covers how to pick acacia deck boards by thickness and grade, how to set joist spacing, and why acacia cladding needs a ventilated facade to dry out. Read it before you order stock for a wall or a deck, because the grade you accept decides how the boards behave once they are outside.If the top of the wall is walked on, treat the edge the way you would treat any drop: guarding requirements are a code matter and they depend on height and on what is above.
A dry stack wall holds because the blocks lean back into the slope and the base is compacted gravel, not because mortar glues them. The same logic applies above the wall: what grows there decides how much water reaches the footing. Before you cut anything along the top of the wall, read a hedge that feeds the yard, a guide that covers what to plant, what to leave standing, and what to read before you cut, so the hedge, the leaf pile, and a few rules turn a small yard into a working garden.When to stop and hire an engineer
Call someone with a stamp when any of the following is true, whatever the height.
- The wall retains more than the local trigger height, commonly four feet of unbalanced fill.
- There is a driveway, a slab, a pool or a structure within a wall height of the top.
- The ground continues to rise behind the wall instead of levelling off.
- You are stacking walls in tiers, which behave as one taller wall unless they are far enough apart.
- Water collects there, or a spring or seep shows up during excavation.
What upkeep actually involves
Almost nothing, if the drainage works. Once a year, check that the drain outlet is still open and not buried under mulch, look along the face for any course that has moved out of line, and clear plants whose roots are heading into the joints. A wall that stays straight for three winters will usually stay straight.
A retaining wall changes what the ground above it can hold, and the space behind the blocks is often the flattest, sunniest ground on the property. If that strip sits near the house, it can carry more than shrubs. A raised bed set on compacted gravel behind the wall drains well and warms early in spring, which suits beans, radishes, and cherry tomatoes. For households with young children, the site's guide to a garden bed for a child covers one afternoon of work, easy vegetables, and clear safety rules for limited space. Plan the wall first, then decide what the soil behind it will grow.Once the wall is done, the surface next to it usually is not. If a patio or path meets the wall, the same principles apply to the paving: base first, edge restraint always. That is covered in the guide to cleaning brick pavers without wrecking the hardscape, which explains why joint sand is structural and not cosmetic.
Before you rent a plate compactor or order a load of big block, settle the order of the work. A retaining wall holds back soil, but it also sits in the path of water, and water is what moves a wall that was stacked correctly. The page spending money in the right order explains that the cheapest home improvement is the one done in the right order: water first, then air, then surfaces. Low-cost work with a real return, and where DIY pays. On a dry stack wall, that means drainage gravel and a level base before any block is laid.